CN
CN
Introduction

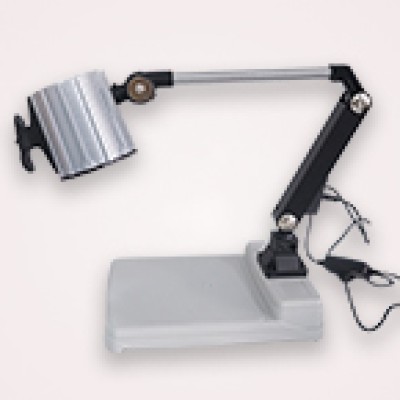
UV dye lamp
In the world of HVAC and automotive maintenance, detecting refrigerant leaks quickly and accurately is crucial for system efficiency, environmental protection, and cost savings. Among the various methods available, UV dye detection stands out as a highly effective and increasingly popular technique.
Understanding the Importance of Refrigerant Leak Detection
Before diving into the specifics of UV dye lamp usage, it’s vital to understand why refrigerant leak detection is so critical:
- Environmental Impact: Refrigerants are potent greenhouse gases. The EPA reports that a typical refrigerant has a global warming potential (GWP) 1,000 to 3,000 times greater than CO2.
- System Efficiency: Even small leaks can significantly reduce the efficiency of cooling systems. The U.S. Department of Energy estimates that fixing refrigerant leaks can improve HVAC system efficiency by 5-10%.
- Cost Savings: Addressing leaks promptly can prevent expensive repairs and reduce energy costs. The average cost of recharging a residential AC system ranges from $150 to $500, depending on the refrigerant type and quantity needed.
- Compliance: Many regions have strict regulations regarding refrigerant management. In the U.S., the EPA’s Section 608 of the Clean Air Act mandates proper handling and leak repair for systems containing more than 50 pounds of refrigerant.
The UV Dye Method: An Overview

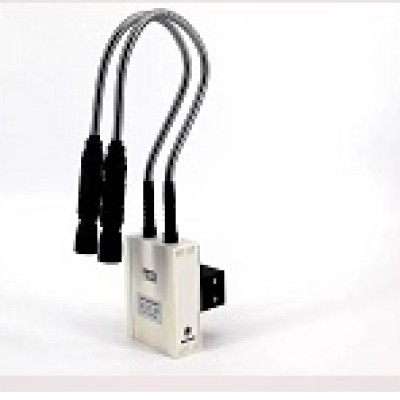
UV dye lamp
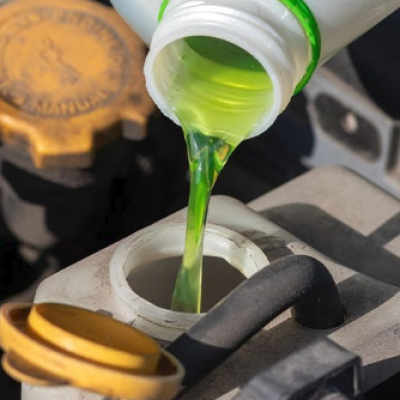
UV dye leak detection involves introducing a fluorescent dye into the refrigerant system. This dye circulates with the refrigerant and escapes through any leaks. When exposed to ultraviolet light from a UV lamp, the dye glows brightly, pinpointing the exact location of leaks.
According to a survey by the Mobile Air Conditioning Society (MACS), UV dye detection is used by over 95% of professional technicians for its reliability and ease of use.
Step-by-Step Guide to Using a UV Dye Lamp for Refrigerant Leak Detection
Step 1: Gather Your Equipment
Before starting, ensure you have the following:
- UV dye compatible with your refrigerant
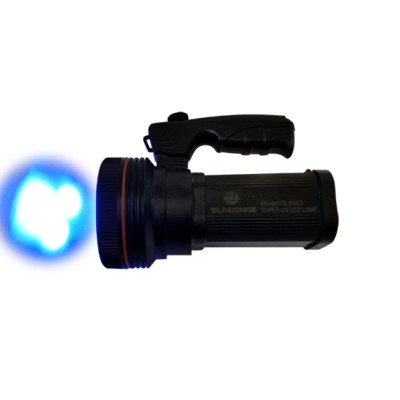
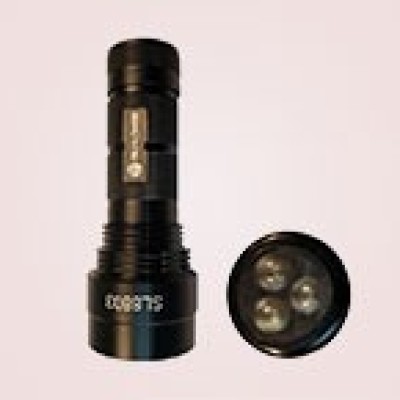
- UV dye lamp (e.g., Sunlonge SL8903 UV Leak Detector Lamp)
- UV-blocking safety glasses
- Gloves
- Clean cloth or towel
- Refrigerant system service tools
Step 2: Prepare the System
- Perform a visual inspection of the system for any obvious signs of damage or wear.
- If the system is completely empty, recharge it with the appropriate amount of refrigerant before adding dye.
Step 3: Add the UV Dye
- Follow the manufacturer’s instructions for the specific dye you’re using.
- Typically, you’ll need about 1/4 oz (7.4 ml) of dye per pound of refrigerant in the system.
- Use a dye injector tool to add the dye to the system through the low-side service port.
Note: Some newer systems come pre-charged with UV dye from the factory. Check the system documentation or look for a label indicating this before adding additional dye.
Step 4: Run the System
- Operate the system for at least 15-30 minutes to allow the dye to circulate thoroughly.
- For automotive AC systems, run the engine with the AC on full blast.
- For stationary HVAC systems, ensure the compressor cycles on and off several times.
Step 5: Prepare for Inspection
- Turn off the system and allow it to cool down.
- Dim the lights in the work area for better visibility.
- Put on your UV-blocking safety glasses.
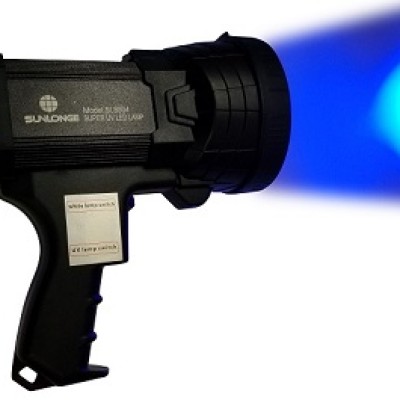
Step 6: Use the UV Dye Lamp
- Turn on your UV dye lamp (e.g., Sunlonge SL8903).
- Hold the lamp about 6-18 inches (15-45 cm) from the components you’re inspecting.
- Slowly and methodically scan all parts of the system, paying extra attention to:
- Fittings and connections
- Hoses and lines
- Compressor shaft seal
- Evaporator and condenser coils
- Service ports
Step 7: Identify Leaks
- Look for bright fluorescent green or yellow glowing areas, which indicate the presence of leaked dye.
- Small leaks may appear as a light mist, while larger leaks will show as droplets or streaks.
- Mark any identified leaks for later repair.
Step 8: Confirm and Repair Leaks
- Double-check any suspected leak areas with a second inspection.
- Clean the area around the leak with a suitable cleaner to remove any residual dye.
- Repair the leaks using appropriate methods (e.g., replacing O-rings, tightening fittings, or replacing damaged components).
Step 9: Recheck the System
- After repairs, recharge the system if necessary.
- Run the system again and perform another UV inspection to ensure all leaks have been addressed.
Step 10: Clean Up
- Clean any UV dye residue from your hands and tools.
- Store the UV lamp and dye in a cool, dry place away from direct sunlight.
Best Practices and Tips
- Quality Matters: Invest in a high-quality UV lamp like the Sunlonge SL8903, which offers optimal wavelength and intensity for dye detection.
- Safety First: Always wear UV-blocking safety glasses to protect your eyes from harmful UV radiation.
- Patience is Key: Small leaks may take time to become visible. If no leaks are immediately apparent, allow the system to run longer or check again after a few days of operation.
- Regular Inspections: Implement a routine maintenance schedule. The International Institute of Ammonia Refrigeration (IIAR) recommends quarterly inspections for industrial refrigeration systems.
- Combine Methods: For comprehensive leak detection, use UV dye in conjunction with other methods like electronic leak detectors or bubble solutions.
- Document Everything: Keep detailed records of dye additions, leak locations, and repairs for future reference and compliance purposes.
The Advantages of UV Dye Leak Detection
- Accuracy: UV dye can detect leaks as small as 0.1 oz (2.8 g) per year, making it one of the most sensitive methods available.
- Cost-Effective: While initial equipment costs may be higher, UV dye detection can save money long-term by identifying leaks early and reducing refrigerant loss.
- Versatility: UV dye works with all types of refrigerants and can detect leaks in hard-to-reach areas.
- Residual Protection: Once added, the dye remains in the system, allowing for future leak checks without additional dye application.
Conclusion

UV dye lamp
Mastering the use of a UV dye lamp for refrigerant leak detection is an invaluable skill for HVAC technicians, automotive professionals, and facility managers. By following this comprehensive guide and leveraging high-quality tools like the Sunlonge SL8903 UV Leak Detector Lamp, you can efficiently identify and address refrigerant leaks, ensuring optimal system performance, reducing environmental impact, and minimizing operational costs.
While UV dye detection is a powerful tool, it’s just one part of a comprehensive maintenance strategy. Regular system inspections, proper refrigerant handling, and staying updated on industry best practices are all crucial elements in maintaining efficient and environmentally friendly cooling systems.